
Taking screenshots on mobile has become very crucial for many purposes. You can share designs, artwork, your ID or almost anything via screenshots with anyone. This also adds the benefit of sharing important information with anyone via just the screenshot. But, one thing to note is that it is also many times used as an invasion of privacy. Now many of the ill-users can take a screenshot of your profile photo and can do all sorts of bad stuff with it.
Moreover, many of the applications also are putting a strict restriction on this and do not allow to take screenshots. You might have witnessed this many times, especially in Banking applications. The banking apps are obviously very confidential so, it does not allow the user to take any sort of screenshots, whatsoever. Besides, in incognito mode of any browser, you also cannot take screenshots. But, there is nothing to worry, as I have a workaround for taking screenshots on restricted apps as well.
I made some research on the internet and have found a solution that can allow you to take a screenshot with the help of Google. That’s right! One of the Google services will help you take screenshots even if the app has restrictions. Now, without any further ado, let us get straight into how to capture screenshots in restricted apps on Android.
How To Capture Screenshots in Restricted Apps on Android
Yes, you can always take a snap of the information with the help of another mobile and share it but, we are talking here something serious. You do not need an extra mobile phone to share screenshots from restricted applications. Moreover, this is also an easy way just, you need to toggle a few settings here and there and you will be good to go. And, what is more, interesting is that you do not need to perform root on your device. It is as simple as that. So, just follow the below steps;
Google Assistant
Now, this is the easiest way to take a screenshot on restricted applications. Google Assitant is the application or service, that will allow you to do that. However, if you do not have activated the Google Assitant then you need to activate it and follow all the setup instructions and then go ahead with the methods or steps mentioned in this post. You can download the Assistant app from the below link;
[button anchor=”Google Assistant” url=”https://play.google.com/store/apps/details?id=com.google.android.apps.googleassistant&hl=en_IN” size=”lg” style=”material” color=”success”]If you have now downloaded and installed the Google Assistant app on your smartphone and also have set it up then, follow the below steps;
- The important thing here is to enable the Screen Context on the Google Assistant app.
- To do that, activate Google Assistant by saying “OK Google” or manually opening the app or taping the button if your device has a dedicated button for voice assistant. Then tap the compass icon at the lower right corner of your screen.
- Or the easy way is to open the Google app from your app drawer and tap on More.

- Then tap on Settings.

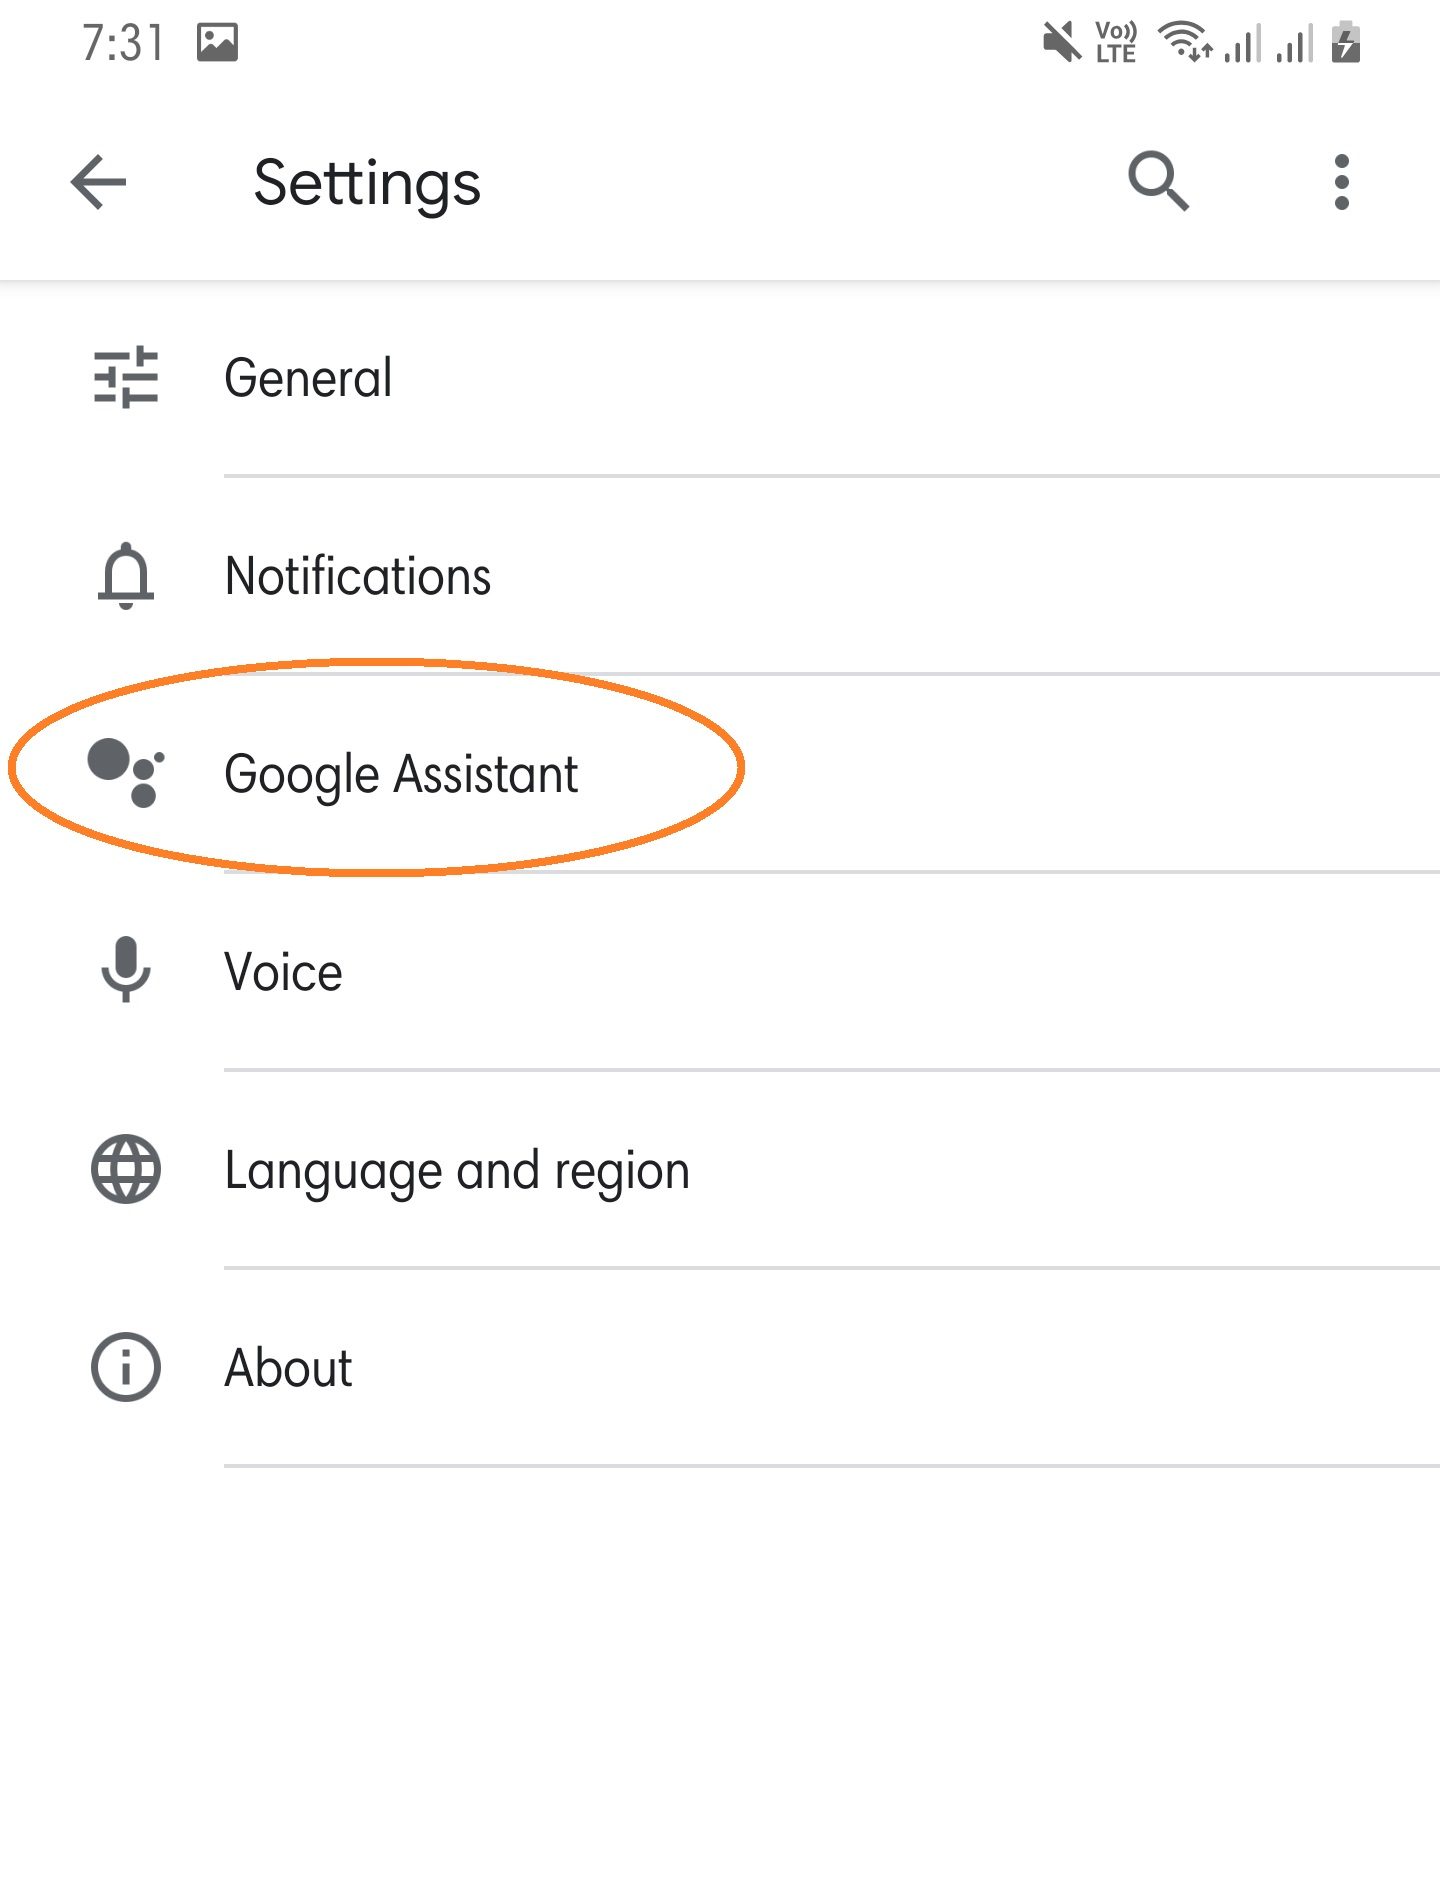
- Now, under the Settings menu, you will see a number of options. You need to tap on the Google Assistant option. Make sure you are connected to the internet via your local network or WiFi.

- Now, once you are under the Google Assistant menu, then you need to tap on the Assitant tab.

- Once you are under the Assistant tab, then scroll down and under the Assistant devices option, tap on Phone (as shown in the image above)
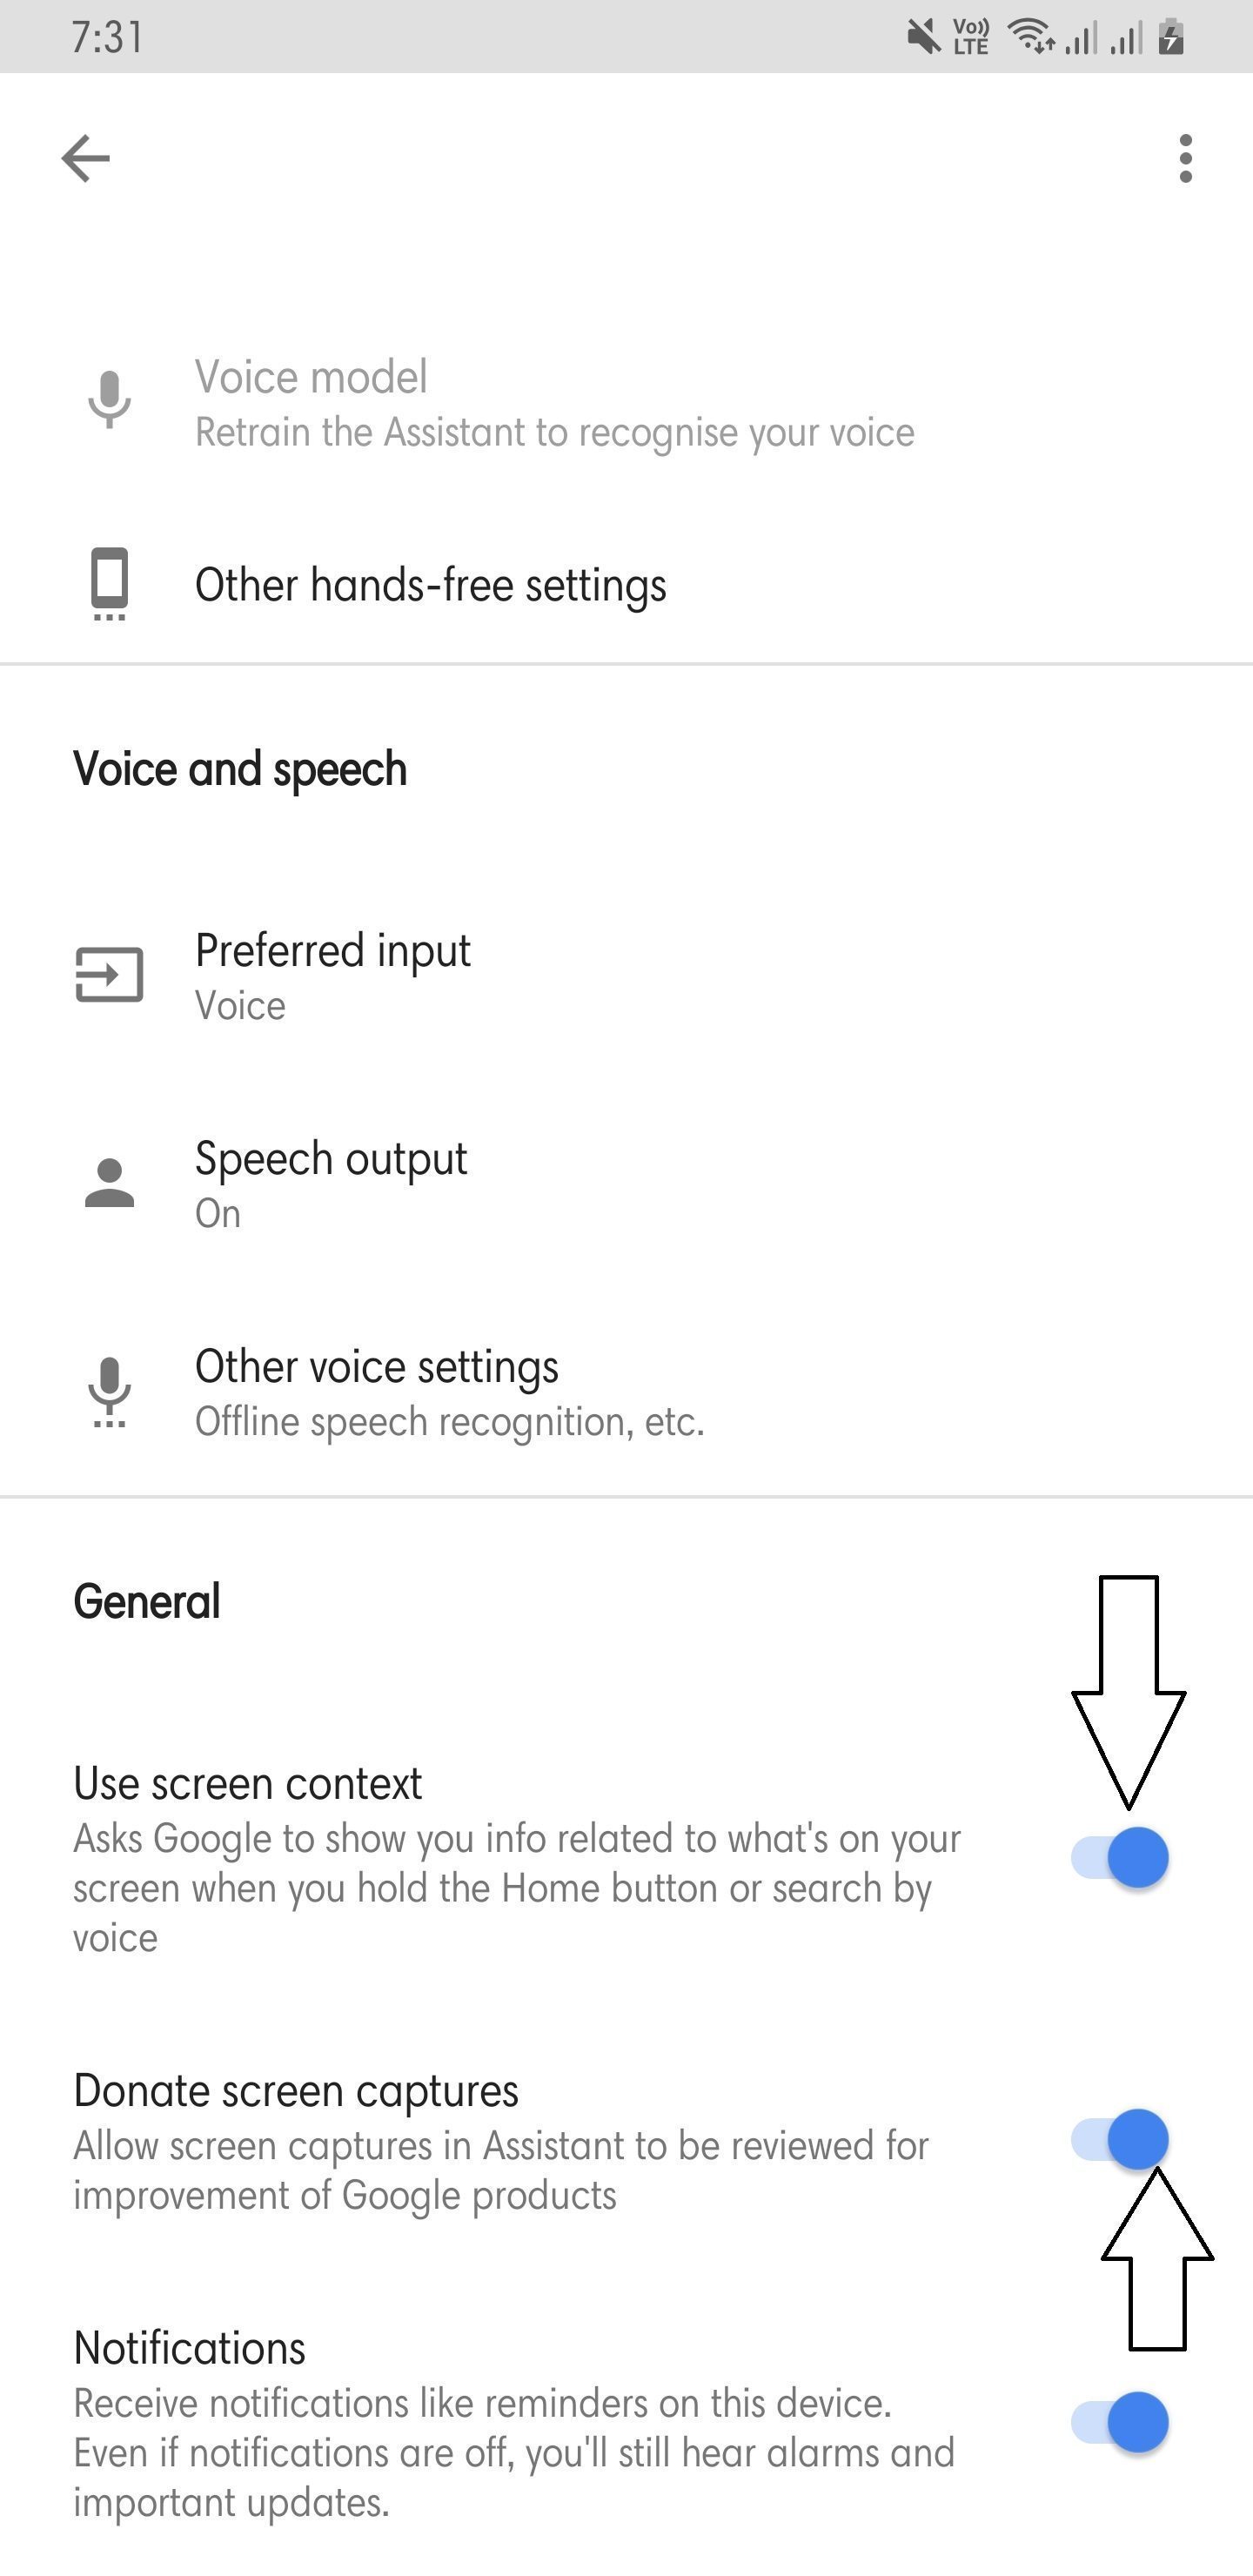
- Then, under the Phone menu, scroll down and enable the Use screen context and Donate screen captures options which are under the General menu.

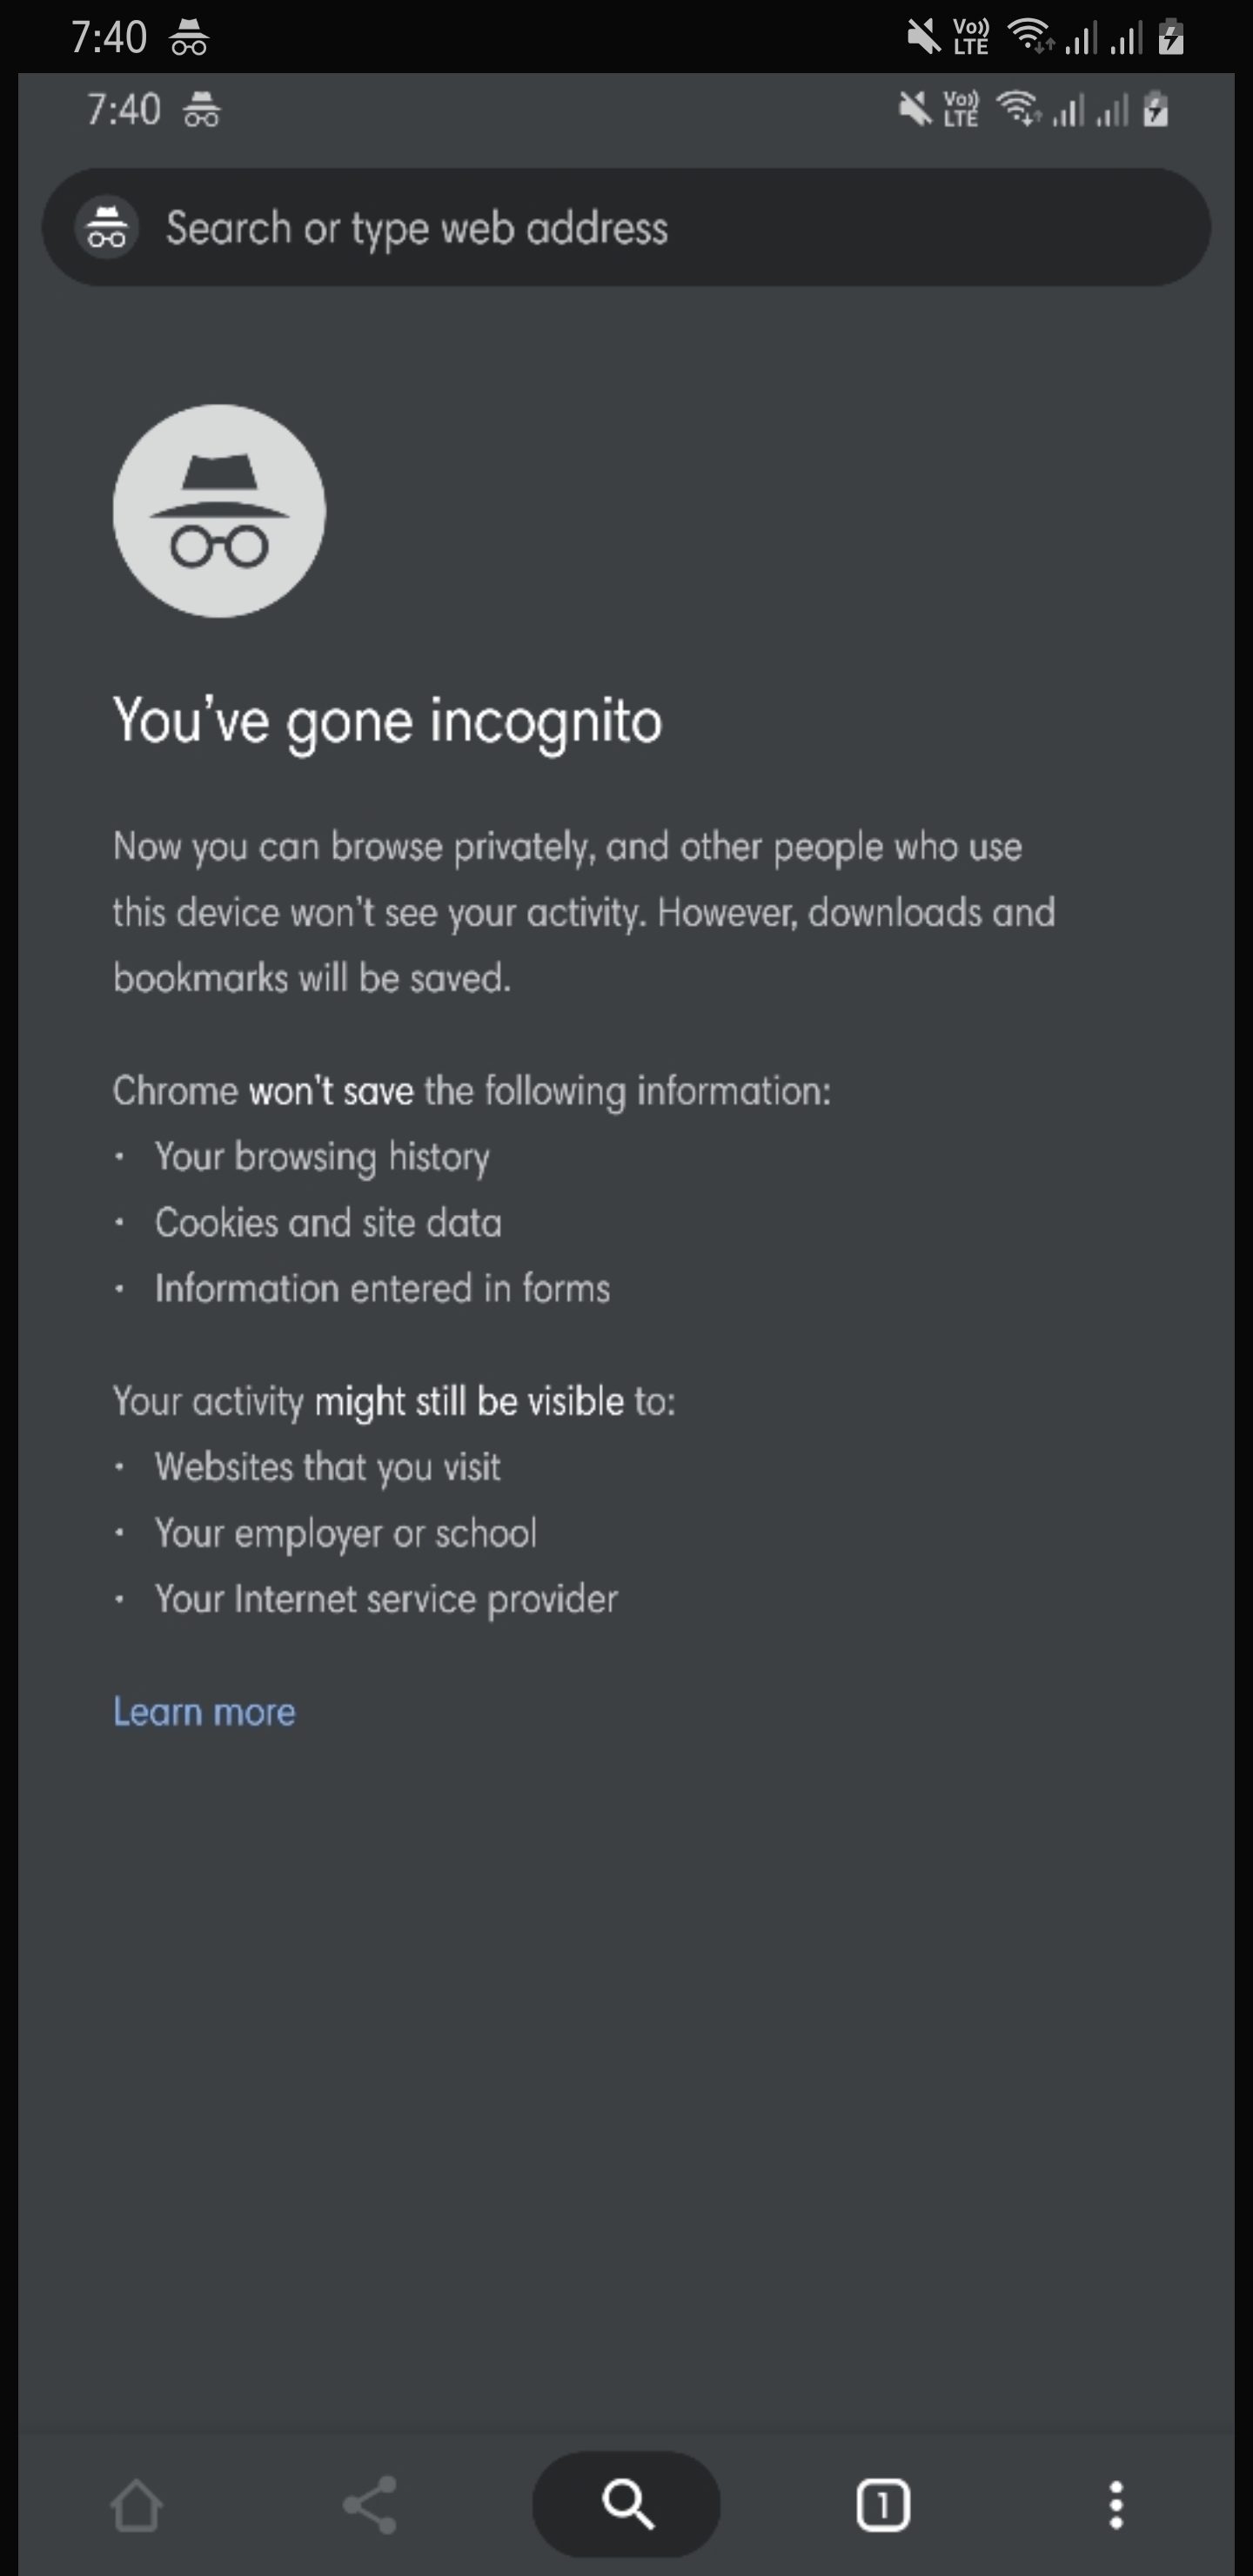
- Now, you need to go to the restricted app that is not allowing you to take the screenshot. For, demonstration I am using the Google Chrome Browser in Incognito mode.
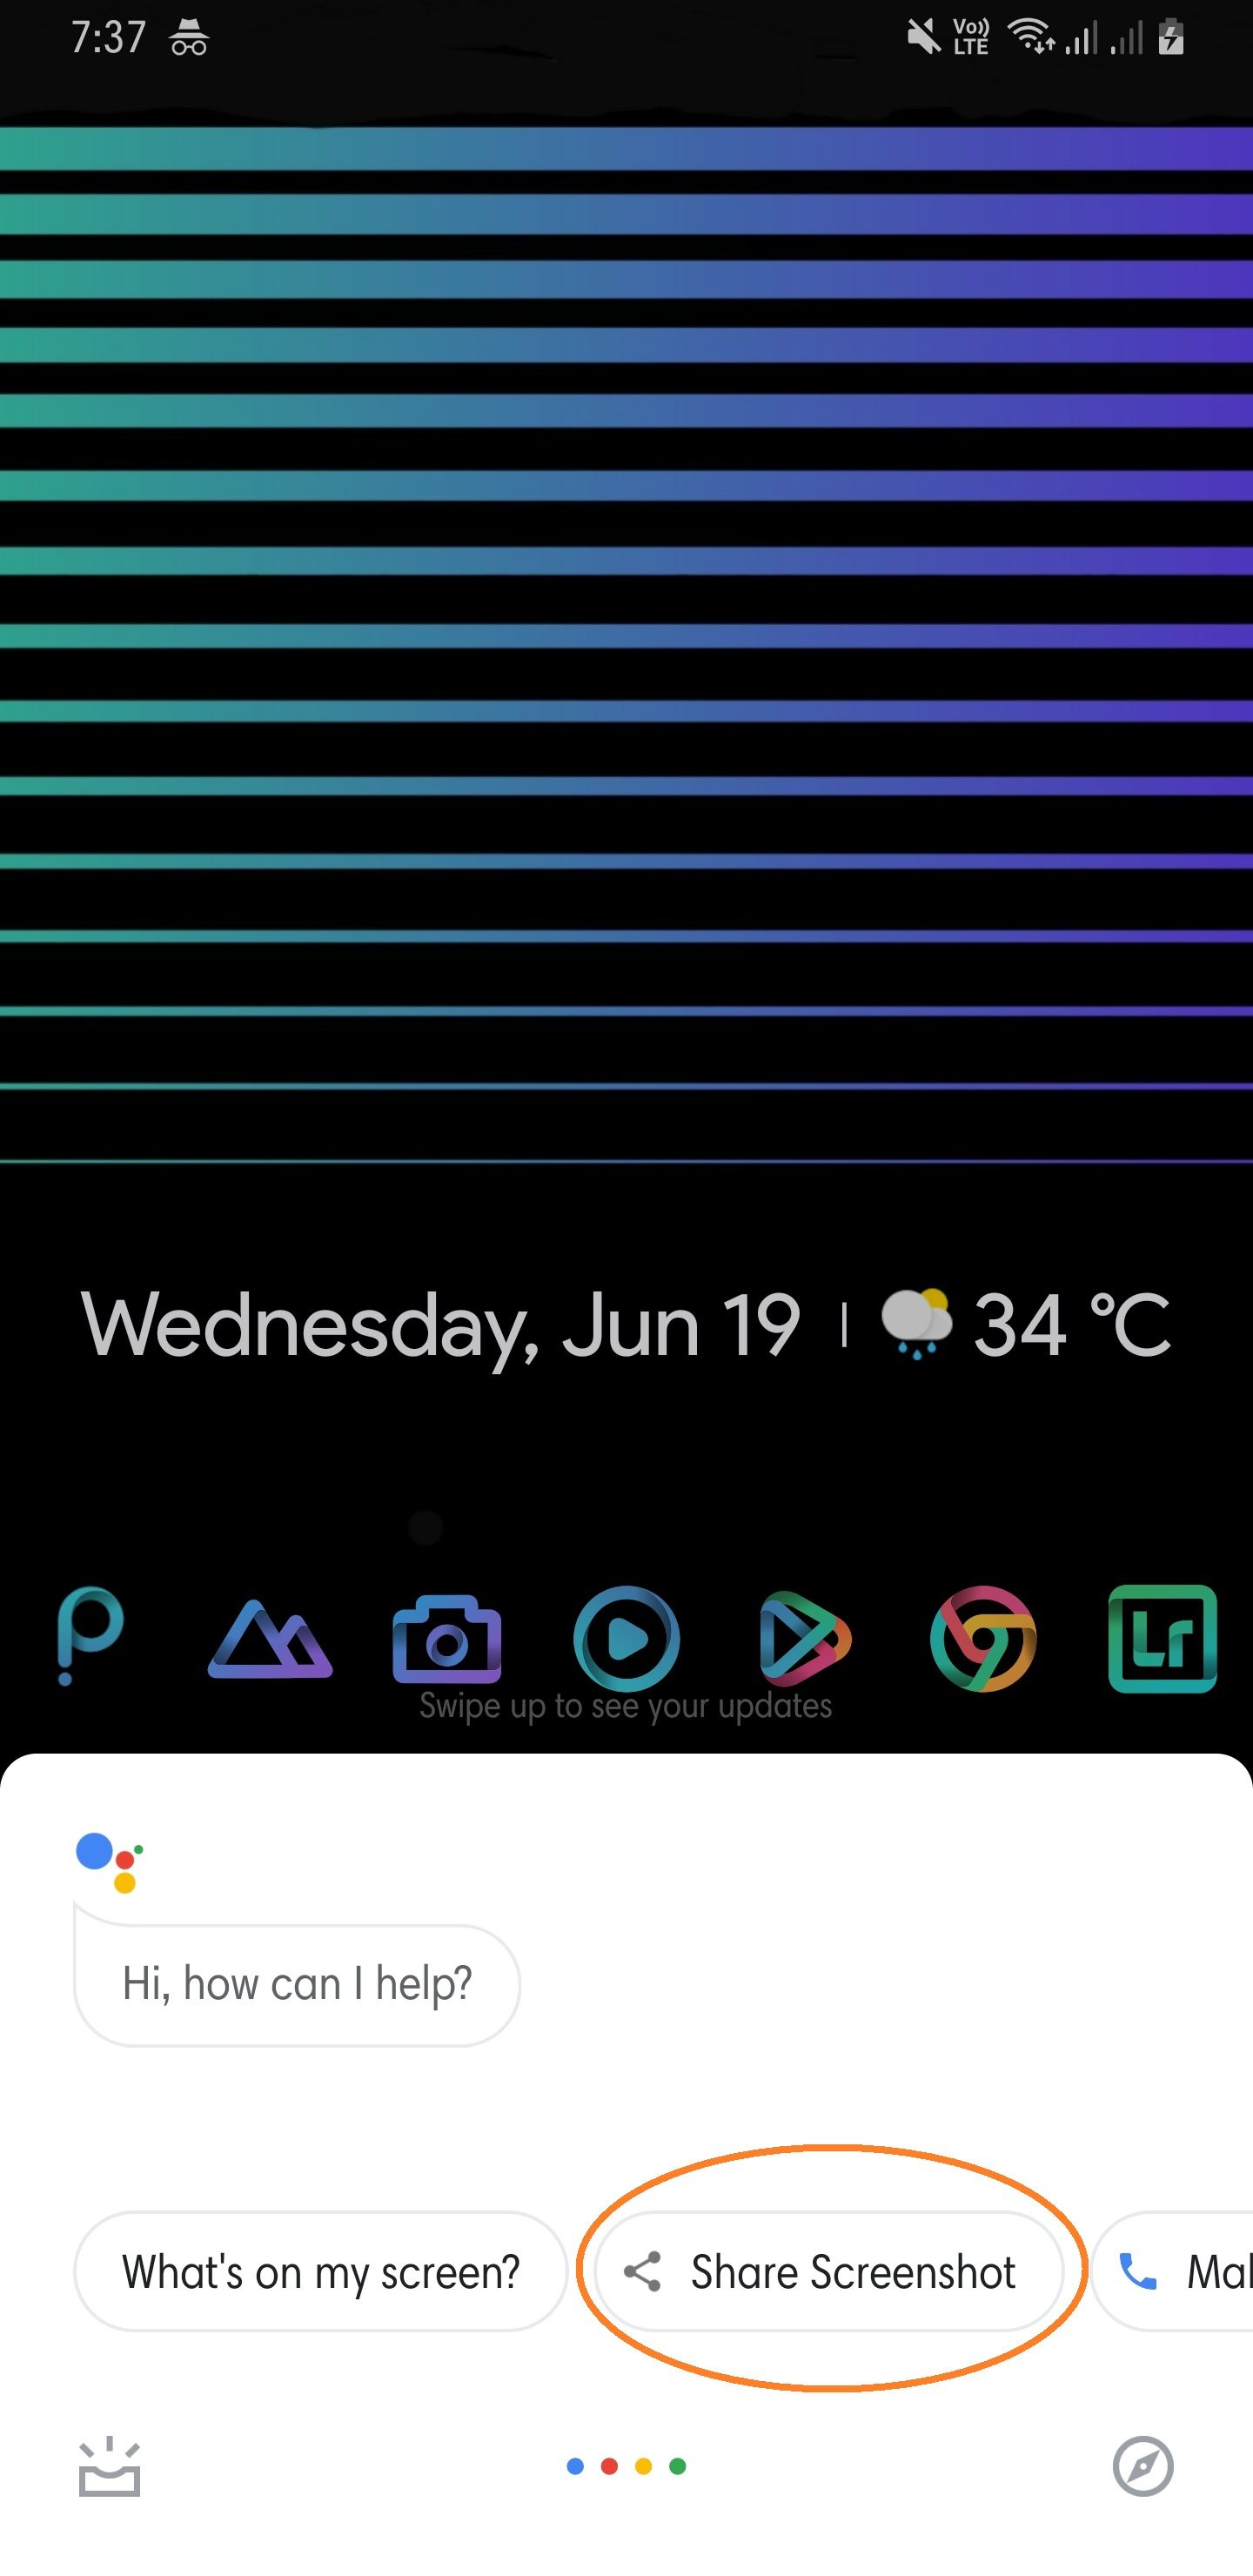
- While keeping your restricted app open, trigger the Google Voice Assitant by saying “OK Google“.

- After that tap on the Share Screenshot option (as shown in the image above).
- Once you tap on this option, it will automatically take a screenshot of the page of the restricted app (in this case Google Chrome incognito mode page) and give you the option to share it via various platforms.


That’s it! You have successfully take a screenshot of the restricted application with the help of Google Assistant. Moreover, you can share it via various platforms like Instagram, WhatsApp, Bluetooth, WiFi Transfer and much more. It is the easiest way of taking a screenshot of any restricted app with the need of rooting your device. If you have rooted your device then, you can make use of the ReEnable Screenshot Module. The link to it is below for you to download and use it on your rooted device;
[button anchor=”ReEnable Screenshot Module” url=”https://play.google.com/store/apps/details?id=se.valitron.res” size=”lg” style=”material” color=”success”]Conclusion
So, there you have it from my side in this article. Hope you liked this article on how to capture screenshots in restricted apps on Android and this information useful. I found it very interesting and useful as many times I have come across such situations that required me to take screenshots on restricted applications. I would advise you to disable the Screen Context by following the above methods on the Google application to maintain your security and privacy.
Please let us know in the comments below if you found this method to take a screenshot on restricted apps interesting and also let us know if you have faced any issues while following any of the methods mentioned above in this post.
Screen shot successful but image in blank
Thanks for your feedback.
Can you please provide me few more details to investigate this issue?
What’s the Android version?
What’s the phone model?
What is the UI like MIUI or OneUI etc?