Asus launched its its latest Zenfone series smartphone, called Asus Zenfone 6Z. The phone is also known as Asus 6z, Asus Zenfone 6 2019 depending on the markets. If you looking for a guide to root ZenFone 6z and install TWRP custom recovery on it, then you are at the right place. Here in this article, we will guide you how to root ZenFone 6z and install TWRP recovery on it. Just follow the article completely. But first, take a look at ZenFone 6z and features.
The body dimensions of the ZenFone 6z are 159.1 x 75.4 x 9.2 mm and weighs 190 grams. It has Gorilla Glass 6 on front side and Gorilla Glass on the backside along with the aluminum frame. The phone features 6.4-inch IPS display panel that supports 1080 x 2340 pixels of resolutions and offers a 19.5:9 aspect ratio. The display of the phone protected by Corning Gorilla Glass 6. It runs on Android 9.0 Pie operating system out of the box which based on ZenUI 6 UI running on top.
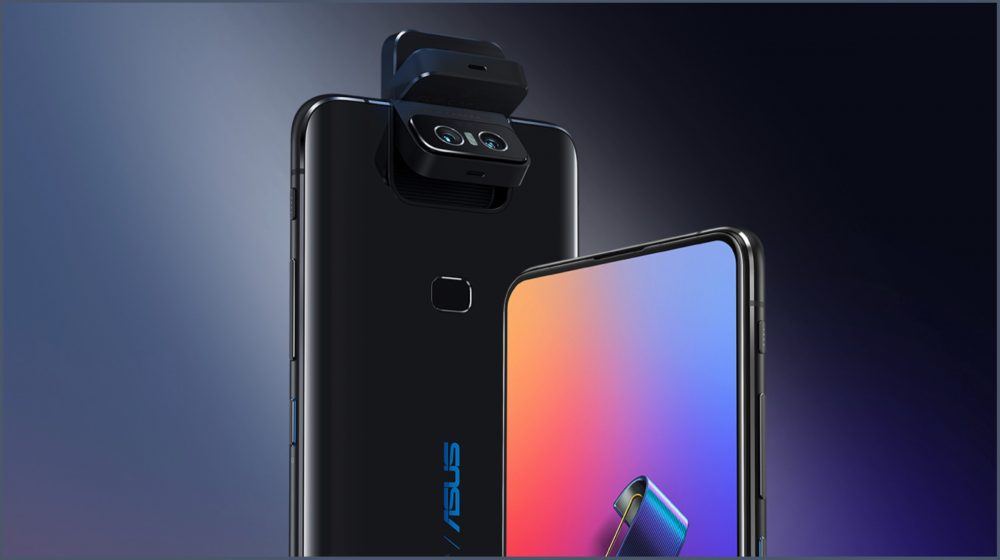
Zenfone 6Z powered by Octa-Core Qualcomm SDM855 Snapdragon 855 (7 nm) processor on board along with Adreno 640 GPU. The phone comes with 6 GB and 8 GB of RAM variants along and 64 GB, 128 GB and 256 GB internal storage options. It featured with dual camera sensors on the backside along with Dual-LED flash. The rear cameras configuration are a 48-megapixel main wide camera with f/1.8 aperture, 26mm (wide), 1/2″, 0.8µm, PDAF and Laser AF and 13-megapixel secondary ultrawide camera with f/2.4 aperture. For selfies or video calls, there is Motorized flip-up main camera. Which means users can use rear camera as the front camera.
The phone is packed with a Non-removable Li-Ion 5000 mAh battery inside the body and comes with Fast battery charging 18W (Quick Charge 4.0) feature. It also supports Power bank/Reverse charging 10W. The phone is available in Midnight Black and Twilight Silver color options. There is a fingerprint on the backside.
Let’s get back to the main topic, there are several advantages of rooting and installing TWRP Custom Recovery. Just follow the article step by step to install TWRP Recovery on Asus Zenfone 6Z and root it.
Advantages of TWRP Recovery
- Flash Custom ROM on your device using TWRP.
- Root and Unroot your device using TWRP Recovery flashable zip SuperSU.
- Flash the image file on your device using TWRP Recovery.
- You can underclock and overclock.
- Easy to flash and use Xposed Modules on your device using TWRP.
- Easy access to restore the Nandroid Backup.
- You can install Magisk on your device.
- Flash modding zip files to customize your phone.
- Create and Restore Nandroid Backup using TWRP Recovery.
- Remove all bloatware from your device using TWRP Recovery.
- Perform clean Wipe, Cache, and Data in your device.
Advantages of Rooting
- You can get access to all files on your device, even the files which present in the root directory of your device.
- You can increase the performance of your device by overclocking.
- By rooting you can increase battery life by underclocking your device.
- You can uninstall Bloatware on your phone.
- You can block Ads on any Android applications such as Youtube and other game-related applications.
- By Rooting your device, you can View, Edit or Delete any system file inside the root directory.
Disclaimer
If anything happens to your device during this process or after this process, we will not responsible for. So. proceed at your own risk.
How to Root Zenfone 6Z and Install TWRP Recovery
Prerequisites
- Make sure you have installed ADB and Fastboot on your PC/Laptop for this procedure.
- Make ake sure your phone’s bootloader is unlocked.
- Before starting this procedure, make sure to take a full backup of your phone.
- Make sure that your phone charged up to 60%.
- This article works only for Zenfone 6Z. Don’t try on other devices.
- Make sure you have installed Zenfone 6Z USB drivers on your PC/Laptop.
- Enable Developer Options: Go to Settings>> About device. Tap 7 times on Build number to enable Developer options.
- Enable OEM Unlock and USB debugging options: Settings>>Developer options
Download
- Download TWRP Recovery For Zenfone 6Z
- Download TWRP Recovery Installer for Zenfone 6Z
- Download SuperSU
- Download Magisk
Install TWRP Recovery on Zenfone 6Z
- Download the TWRP Recovery file from the download section and rename it to recovery.
- Go to the ABD and Fastboot folder and run the command prompt by holding the Shift key and right-click on an empty space inside the folder.
- Now click on the Open PowerShell window here.
- Now, reboot your phone into Fastboot mode by press and hold the Volume Down + Power key together for a few seconds.
- Now connect your phone to the Windows PC or Laptop via USB cable.
- Now write the following command
fastboot flash recovery recovery.img
- again, write the following command to reboot your phone.
fastboot reboot
You have successfully installed TWRP Custom Recovery on Zenfone 6Z smartphone.
Note – Don’t try to flash both Magisk and SuperSU on your phone. You need to root either with SuperSU or Magisk
Root Zenfone 6Z using SuperSU
- Download SuperSU zip file on your Windows PC or Laptop, download link mention in the download section.
- Now transfer the SuperSU zip file into your phone’s root (internal) memory.
- Now reboot your phone into TWRP recovery mode by pressing Volume Down and Power button together for few seconds. In case this is not taking you into TWRP Recovery Mode, then try Volume UP and Power Button. In some phone, you can access the recovery menu by this.
- Once you inside TWRP recovery, tap on install and select superSU zip file.
- Now swipe to confirm.
- Now tap on reboot.
You have successfully root Zenfone 6Z smartphone using SuperSU.
Root Zenfone 6Z using Magisk
- Download Magisk zip file on your Windows PC or Laptop, download link mention in the download section.
- Now transfer the Magisk zip file into your phone’s root (internal) memory.
- Now reboot your phone into TWRP recovery mode by pressing Volume Down and Power button together for few seconds. In case this is not taking you into TWRP Recovery Mode, then try Volume UP and Power Button. In some phone, you can access the recovery menu by this.
- Once you inside TWRP recovery, tap on install and select Magisk zip file.
- Now swipe to confirm.
- Now tap on reboot.
That’s it, you have root Zenfone 6Z smartphone successfully and install TWRP on it. If you face any problem or issue during the process, let us know in the comment section.