GCam Port | Google Camera APK v9.6 (February 2025) › Forums › Sony Device Forums › Xperia Z Ultra – togari › [NOUGAT] Nougat ROM for Xperia Z Ultra 7.0 AOSP
- This topic has 0 replies, 1 voice, and was last updated 9 years, 9 months ago by Linux User.
- AuthorPosts
- September 3, 2024 at 12:56 PM #6453Linux UserParticipant
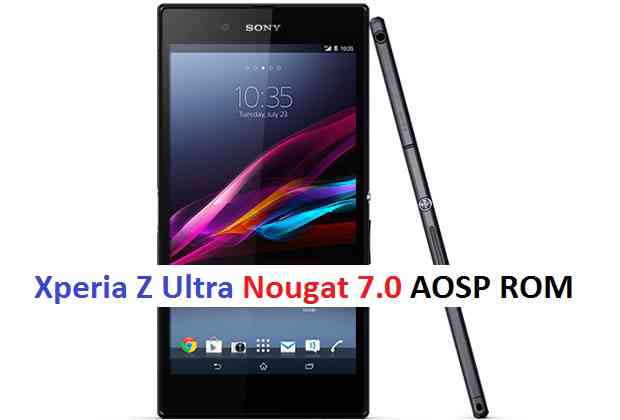
Xperia Z Ultra Nougat 7.0 AOSP ROM is available through unofficial AOSP ROM update and this is a guide which explains how to update Xperia Z Ultra to Nougat ROM. This is only for Xperia Z Ultra variant C6833 model number. Please don’t try this any other Z Ultra variants. Since the Android Nougat Source code release, till now we have many Android Nougat ROMs available for various devices. Among Sony devices, we have now Xperia SP Nougat and Xperia M Nougat ROM Update and now this time the Nougat ROM (build number: NRD90M) has arrived to Sony Xperia Z Ultra (codename: togari, model number C6833).
DISCLAIMER:
THIS IS JUST AN INITIAL ALPHA ROM AND MAY NOT BE USED AS A DAILY DRIVER SOFTWARE. CHECK THE WORKING AND NON-WORKING LIST BEFORE FLASHING AND PROCEED AT YOUR OWN RISK.Installing a custom ROM on a the Xperia Z Ultra requires the bootloader to be unlocked, which may VOID your warranty and may delete all your data. Before proceeding further you may consider backup all data on the phone. You are the only person doing changes to your phone and I cannot be held responsible for the mistakes done by you.
Status of Xperia Z Ultra Nougat 7.0 AOSP ROM build:
WHAT’S WORKING:
– Almost everything worksKNOWN ISSUES:
– Camera
– Proximity sensor
REQUIRED DOWNLOADS AND LINKS TO UPDATE AOSP 7.0 NOUGAT FOR XPERIA Z ULTRA (TOGARI):
- Unlocked bootloader on the Xperia Z Ultra (togari).
- TWRP Download link for Xperia Z Ultra
- ROM Download link to AOSP 7.0 Nougat ROM for Xperia Z Ultra [UPDATED]
- Google Apps download link for the Nougat Xperia Z Ultra 7.0
- Enable ROOT on Xperia Z Ultra Nougat ROM
Make sure you have a Linux/Windows PC or a MAC installed with Fastboot and adb binaries. If not then you can follow one of the following guides based on your PC OS:
– 15 Seconds ADB Installer for Windows
– Minimal ADB and Fastboot for Windows
– ADB Fastboot Installation guide for Linux or MACHOW TO INSTALL/FLASH/UPDATE XPERIA Z ULTRA NOUGAT 7.0 ROM (ANDROID 7.0 AOSP ROM):
- First make sure that the bootloader is unlocked and TWRP is installed before updating the Nougat ROM to Xperia Z Ultra (togari). If not then unlock it first, install TWRP recovery and come back.
- Download the Nougat ROM zip file for Xperia Z Ultra and the Nougat Gapps zip file from the above download link. Extract the ROM zip file and you will get all fastboot flashable zip files such as: boot.img, system.img, userdata.img etc.
- Boot into the recovery image:
fastboot reboot recovery
- Clean/Wipe data factory reset, Cache partition, Dalvik Cache partition from the recovery:
– Here is a guide explaining how to wipe data using TWRP recovery.This will delete all your data on your phone. IGNORE IF YOU DON’T WANT TO OR IF YOU HAVE ALREADY DONE THIS. You may consider complete backup of your phone data or take a NANDROID backup of the current ROM.
– How to backup all data on your Android Device.
– how to take NANDROID backup using TWRP recovery. - Reboot to bootloader again and flash the BOOT, SYSTEM, USERDATA and RECOVERY partitions using fastboot:
First execute the following to see if the device is detected:fastboot devices
NOTE:
If the device is detected then proceed further to flash the fastboot images if not then remove the device and re-connect till the fastboot recognizes the device.
Now, to flash the ROM images, you need to have fastboot installed on your PC. If not then follow one of the following guide depending on your system type:
15 Seconds ADB Installer or Minimal ADB and Fastboot for Windows
ADB Fastboot Installation guide for Linux or MAC
MANUAL FLASHING VIA FASTBOOT:
If you want to manually flash all the images then you can do so by executing the following commands in a command or terminal window:fastboot flash boot boot.img
fastboot flash userdata userdata.img
fastboot flash system system.img
fastboot reboot
- Alternatively this can be installed as a TWRP restoration:
INSTALL USING TWRP’s NANDROID BACKUP RESTORE:- Install TWRP recovery on Xperia Z Ultra if it’s not yet installed.
- Extract the Z Ultra Nougat ROM TWRP BACKUP .img files to the following directory location into the phone:
sdcard/TWRP/BACKUPS/*yourdevice*/*backupname* - Boot into TWRP recovery.
- Now, restore the backup that you have copied to TWRP directory.
– You may follow the same TWRP nandroid backup guide to restore the TWRP backup. Instead of selecting backup just click on restore and select the downloaded Nougat TWRP backup. Restore the System, Userdata and boot partition images.
- Boot the phone and if GApps are not already installed then follow the next steps in a custom recovery.
- Now copy the GApps to the phone using MTP mode and boot into TWRP recovery.
- Flash the Google Apps package using the TWRP recovery and then reboot to system.
– Here is a post explaining how to flash Nougat GApps using TWRP recovery.
Reboot the phone to system from the recovery when the flashing is done, do the initial setup and then enjoy the taste of Android Nougat on Xperia Z Ultra. If you have any concerns or are you facing any problem regarding this guide or Xperia Z Ultra Nougat ROM then just login and leave a comment to get an instant reply.
Stay tuned or Subscribe to the Xperia Z Ultra forum For other Android Nougat ROMs, 14 ROMs, other ROMs and all other device specific topics. - AuthorPosts
- You must be logged in to reply to this topic.